Configuration of Data Sources
Data Sources are a core concept of the ArcGIS Experience Builder (see ESRIs docs on adding data). Widgets, such as the Map Widget or the Chart widget, can select data sources and visualize their content. A Datasources is essentially tabular data with predefined columns and data types.
Most commonly, developers of an experience will use data sources that are available on their ArcGIS Portal. The DASF widget now enables you to setup dynamic data sources, i.e. data sources that do not have to be filled with precomputed content, but instead can be filled from your DASF backend module dynamically. This is especially useful if your backend module has access to large amounts of data that is too big to make it available through your ArcGIS portal, or if your DASF backend module requires powerful computational resources, such as an HPC system, that is not exposed to the web.
To use this framework (i.e. dynamically populate a data source), you need to follow two steps:
define the data source in the DASF Widget
populate the data source from your backend module.
Defining the data source
To define a data source that can be used by other widgets, click the DASF widget in the experience builder and, in the configuration sidebar, expand the Add new data source section.
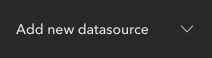
Now you have to options to use an existing data source or to create a new one, manually or via an upload of a JSON configuration file.
Manual creation
To create a datasource manually, enter the name and click Add data source
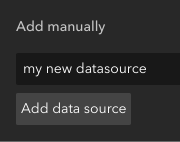
It will now appear as a collapsed item above the button with the name you chose. Expand it, to define columns (aka variables) for the data source.
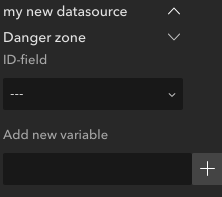
Now define a new variable and click the + button.
Warning
Note that variable names should not have spaces or special characters
(including hyphens). A good orientation is: what ever you can use to define a
variable in python, works (as such, underscores _ are fine).
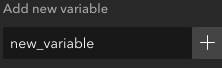
Once created, you can customize the variable by expanding it in the configuration view
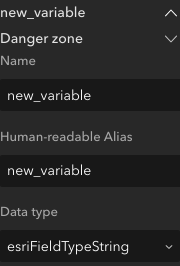
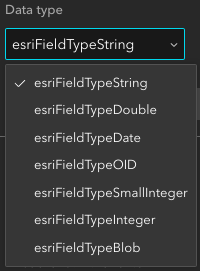
We recommend that you define a Human readable Alias as these are used in the frontend for visualization in legends tables, and you can change the data type of the variable,
Using an existing data source
Instead of creating a new data source, you can use an existing one, the output data source of another DASF widget for instance, or an existing feature layer on the server. If you do so, the DASF widget will create a new output data source for you that will then be populated by the existing data source, or by the DASF widget itself. This allows you to modify a single data source from multiple origins.
Just toggle the Connect to data switch and select the data source you want to use

Note
Once imported, changes from the original data sources are not automatically taken over (changes in the variables for instance). To consider these changes, you have to manually click the Refresh button in this section.
Upload configuration
As an alternative to the manual generation of a data source, you can also
upload a config from a JSON file local to your computer. The easiest way to
create such a JSON file, is to use the
dasf_exb.return_models.DataSource.generate_datasource_config()
method.
from dasf_exb.return_models import DataSource

# define some demo record
record = {"variable1": 3, "variable2": "some text"}

# create a data source
ds = DataSource(name="my datasource", records=[record])

# dump to a file named `datasource-config.json`
with open("datasource-config.json", "w") as f:
    f.write(ds.generate_datasource_config().model_dump_json())
You can then click the Upload config button in the experience builder and
upload the datasource-config.json file you created
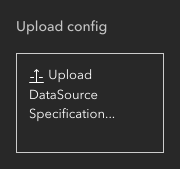
Afterwards you can edit the data source config in the browser as described in the previous section Manual creation.
Data Response Actions
Once a data source has been created, you can add so-called data response actions.

Here you can configure actions when the the backend fills a data source. The action can be the visualization of a view, window or page, and you can render a button, and/or trigger the action automatically on data receipt.